With staffing troubles still plaguing the restaurant industry, business owners have been searching for ways to adapt & evolve. Many restaurants have implemented QR Code Ordering to give guests the flexibility to order & pay on their own time, freeing up the staff to focus on hospitality & running food. However, this brings up a few questions:
How easy is it to get started?
What do I need to do to get guests on board?
Do I need to train my staff on QR Ordering?
In this post, we will take a closer look at QR Code installation and outline How to Launch QR Code Ordering with your Staff.
More and more QR Code Ordering platforms are emerging every month and all of them have slightly different onboarding processes, but in this blog we will focus on tabski’s checklist to successfully setting up a restaurant.
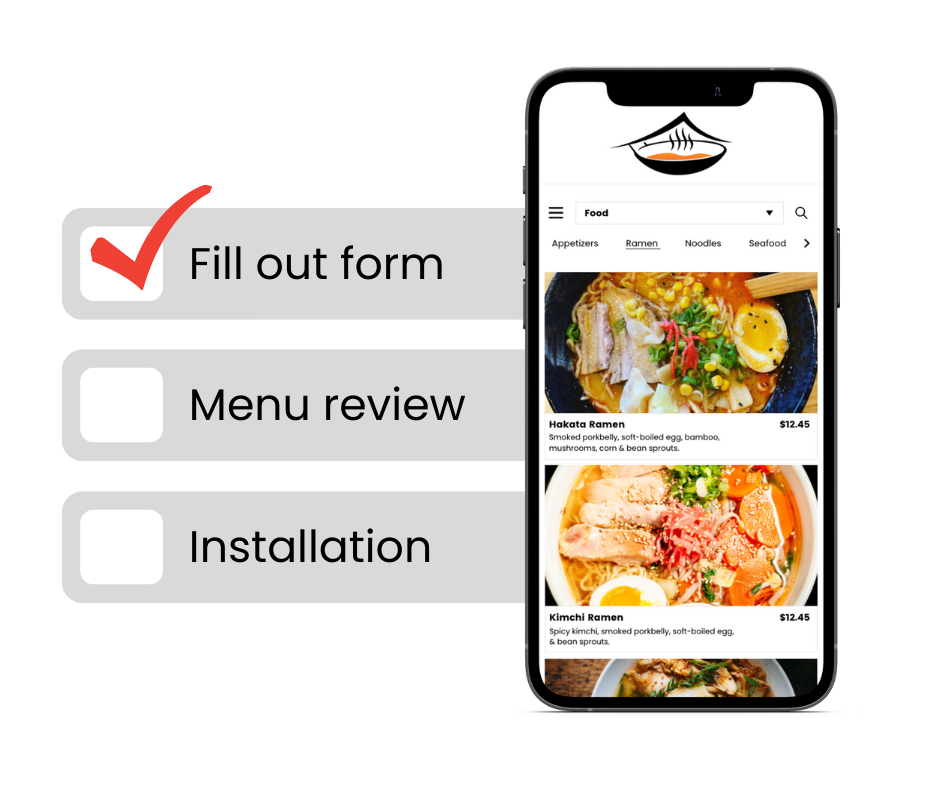
Step 1: Complete the onboarding form
Before you’re ready to provide digital ordering to your customers, we need to have a better understanding of how your business operates. For tabski, we ask that you take 10 minutes to fill out our simple onboarding form that gives us the necessary information to build your custom QR solution. Upload your logo, set your menu hours, and provide us with your seating layout: (Main Dining 1-15, Patio 16-24, etc.) This is used to set up your consumer app and make sure customers can only order specific items, from specific places, at specific times. We also need information on your printers and routing locations to know where items should be sent when guests order. This step is crucial in making your business as efficient as possible. If done correctly, your staff will receive the items and run them out to your guests with no problem. If done incorrectly, items can get sent to the wrong display systems and be lost forever. The last step on the form is to pick your QR Code design and color to match the aesthetic and branding of your business. Submit the form and we’re ready to move on to the next step.
Step 2: QR Codes & Menu Review
Once we receive all of your information, we will order your QR Codes and send you the tracking information. We will then upload your menus to the software and schedule a call with you to make any necessary menu changes and add any pictures if desired. We will go line by line with you to assure your menu is perfect and ready for digital ordering. When everything is good to go we can begin the installation process upon the arrival of the QR Codes.
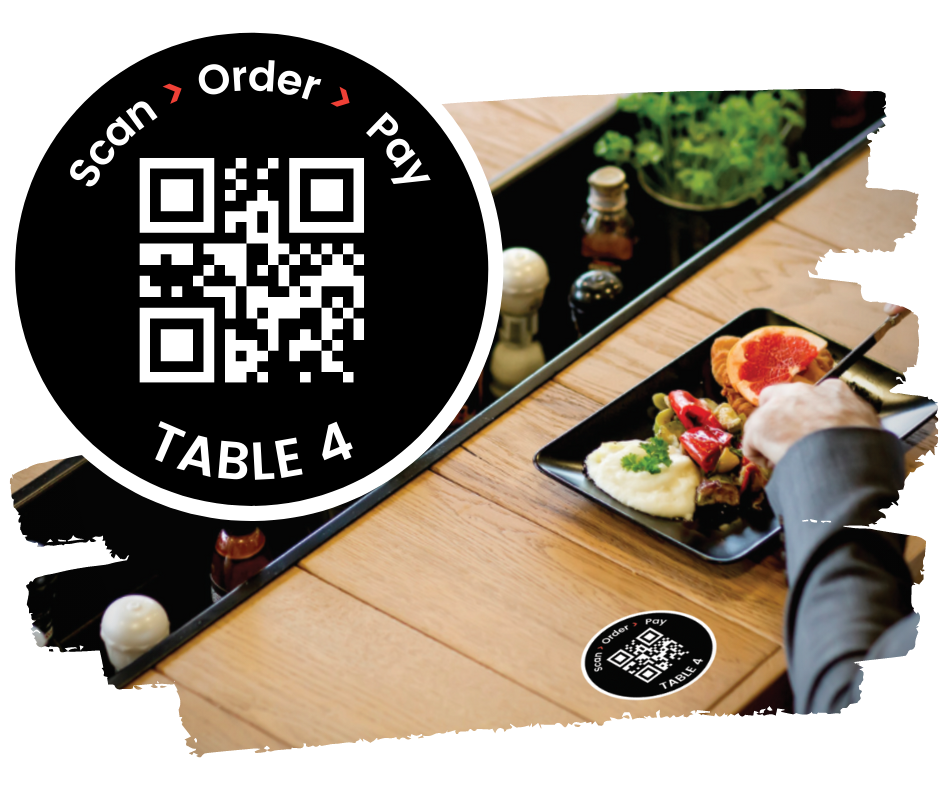
Step 3: Installation & Execution
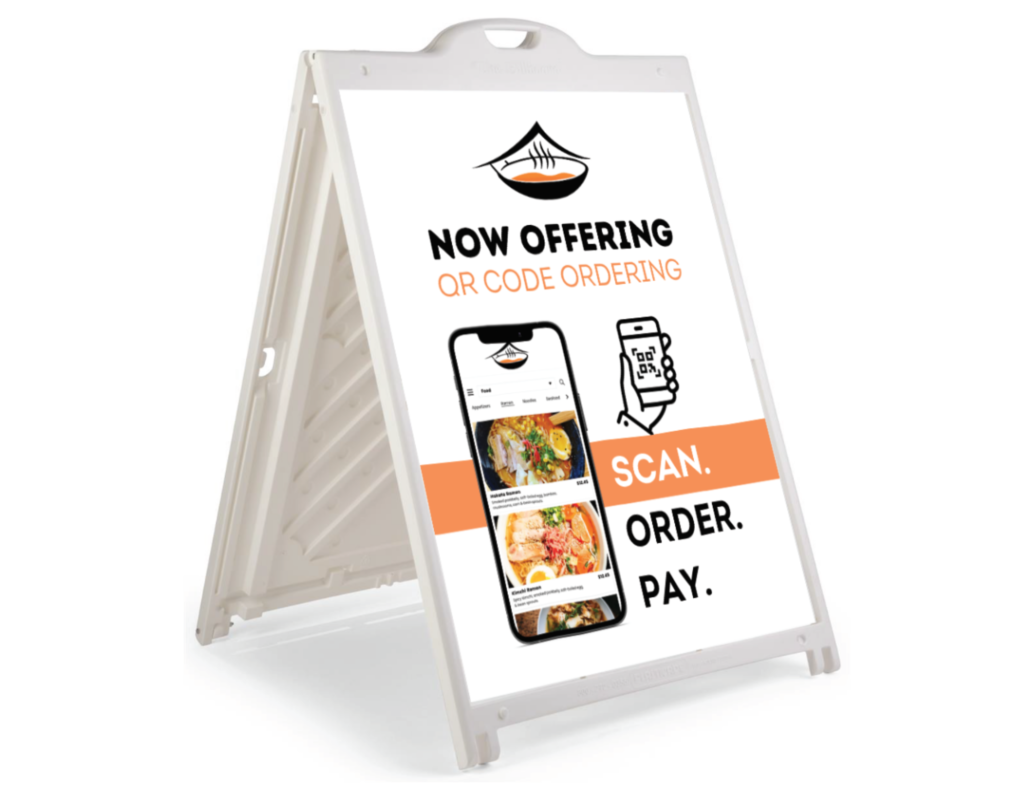
The final task in completing tabski onboarding is to securely place the QR Codes and go over best practices and staff training. Match up each sticker with its corresponding table number and keep the extras in a safe place for later. Make sure each sticker is placed flat on the table and apply pressure to the sides so your guests can’t pick at the corners. You can also set up table tents, A-Frames, and a bar pickup location if applicable. At this time we will jump on our final call to go over how your staff should greet guests. It’s important to nudge guests to use tabski to increase overall check size and tip size. Once we train your team on the best practices and answer all your questions you’re ready to start receiving digital orders.
Now you’re ready to run your business more effectively. We offer ongoing support if you ever run into troubles so give us a call at (855)781-1570 or email us at help@tabski.com.